  @PostMapping("/new")
  public String create(@ModelAttribute("formData") CreateProductFormData formData,
      BindingResult bindingResult) {
    if (bindingResult.hasErrors()) {
      return "products/edit";
    }

    productRepository.save(formData.toProduct());

    return "redirect:/products";
}Redirect attributes with Spring MVC and htmx
A common implementation pattern with Spring MVC is showing a notification message after a redirect has happened. For example, you edit a product in a page and after saving the product you are redirected back to the list of products. At the top, you show a message "Product xyz updated". If the user manually refreshes the page, the message should disappear.
To implement this, you can use redirect attributes, sometimes also called flash attributes.
Redirect attributes with Spring MVC
To use redirect attributes, you need to add org.springframework.web.servlet.mvc.support.RedirectAttributes as a parameter to your controller method. In the example code, I have this controller method to get started:
It shows the POST mapping to create a new product in the application. See Form handling with Thymeleaf if you need more information about how forms work with Thymeleaf.
We see that if there are no validation errors on the form, the browser will be redirected to the /products path.
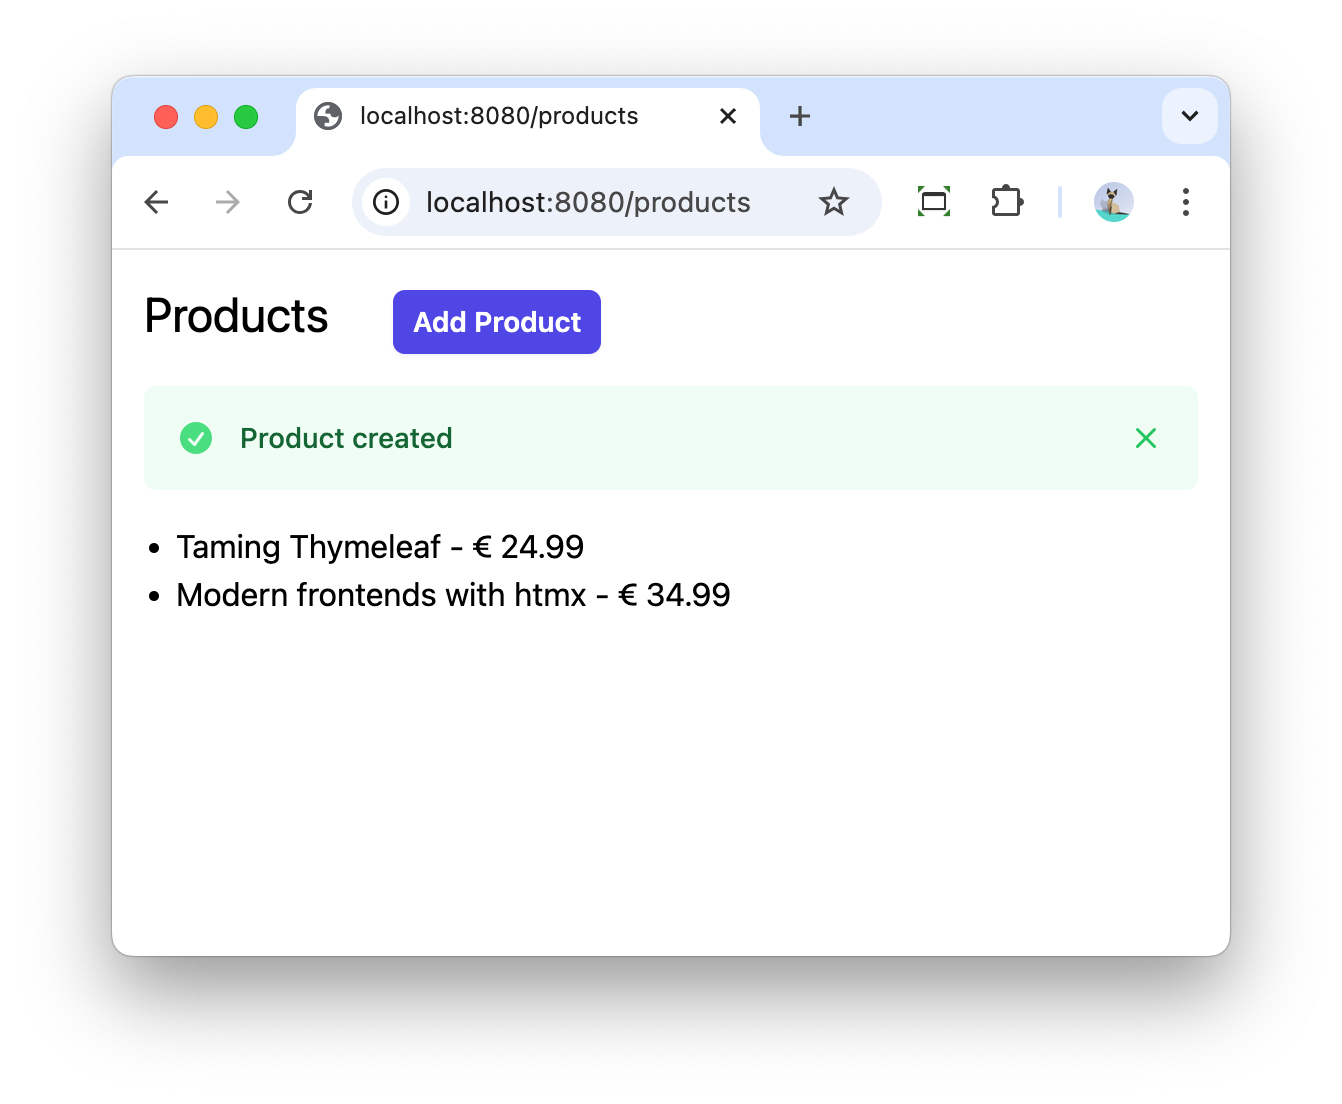
If we want to show a message Product created on our list of products page, we can use RedirectAttributes like this:
  @PostMapping("/new")
  public String create(@ModelAttribute("formData") CreateProductFormData formData,
      BindingResult bindingResult, RedirectAttributes redirectAttributes) { (1)
    if (bindingResult.hasErrors()) {
      return "products/edit";
    }

    productRepository.save(formData.toProduct());

    redirectAttributes.addFlashAttribute("message", "Product created"); (2)
    return "redirect:/products";
}| 1 | Inject RedirectAttributes as a parameter. |
| 2 | Add a flash attribute with the key message and the value Product created. |
To now use this flash attribute, we can use it like any other Model attribute:
    ...
    <th:block th:if="${message}"> (1)
        <div th:replace="~{fragments :: success-message(${message})}"></div>
    </th:block>
    <ul class="mt-4 ml-4 list-disc">
        <li th:each="product : ${products}">
            <span th:text="${product.name}"></span> -
            <span th:text="|€ ${product.price}|"></span> -
        </li>
    </ul>
...| 1 | Show a notification message if the message attribute is present. |
Screenshot of the notification after a product is added:

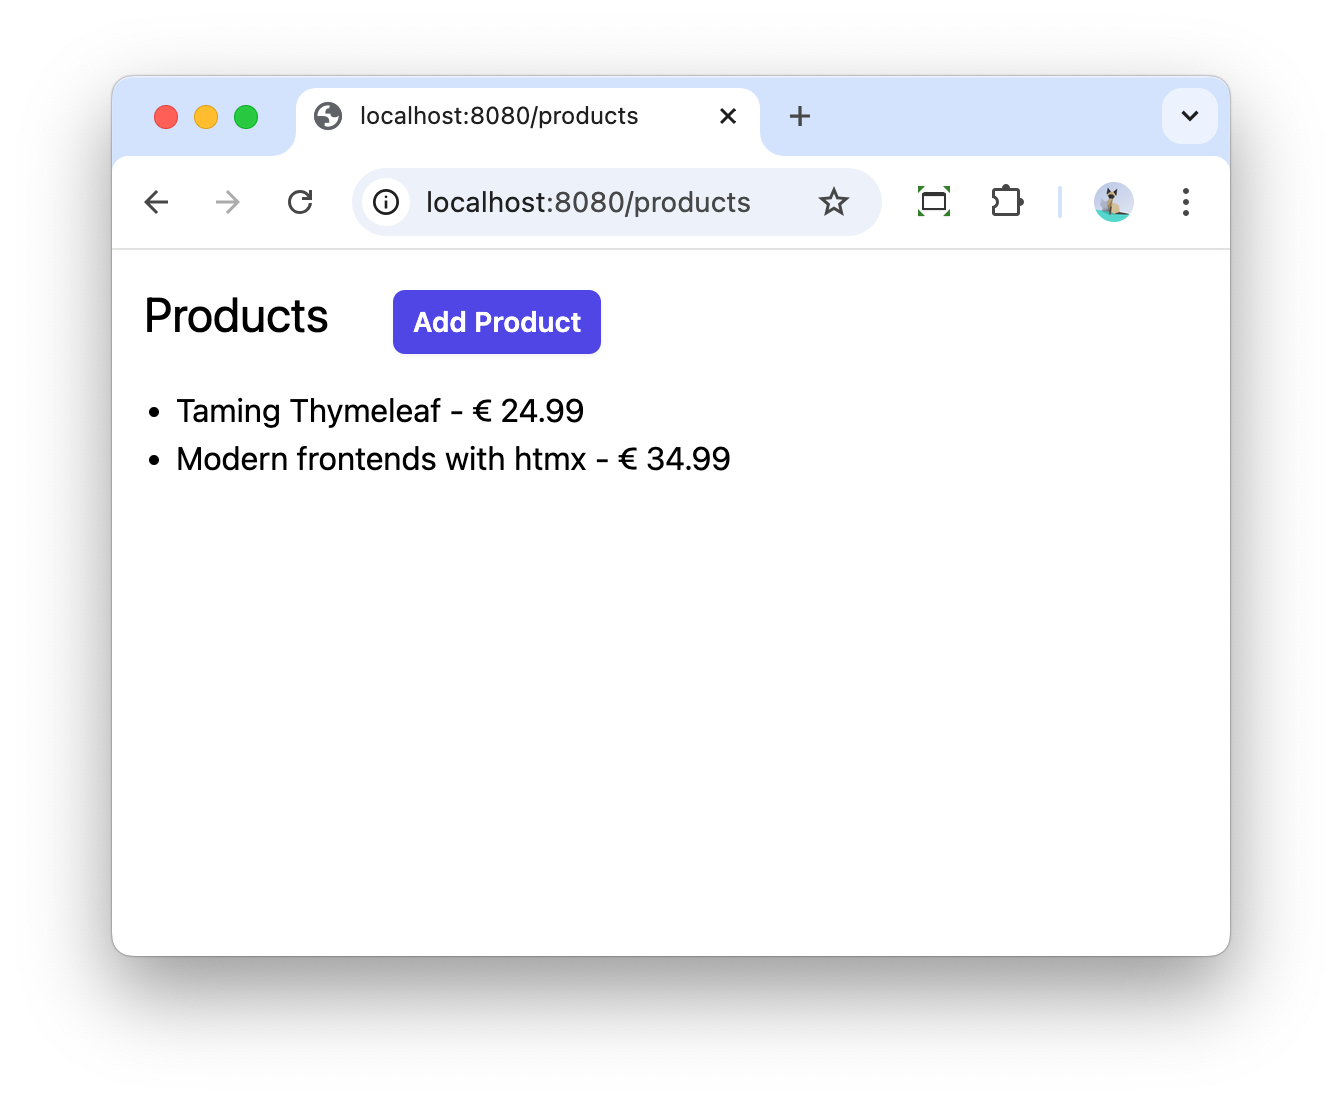
If you refresh the page, the message automatically disappears:

Redirect attributes with htmx
If you are working with htmx, you can also use redirect attributes if you want, but you need to know how to do this exactly.
|
If you rather use a toast notification on the same page that you are editing, have a look at my blog post Toasts notifications in Thymeleaf with Shoelace and htmx. |
For our example, we will add a Delete link for each product that will send a HTTP DELETE request via htmx.
This is the updated Thymeleaf template:
<li th:each="product : ${products}">
    <span th:text="${product.name}"></span> -
    <span th:text="|€ ${product.price}|"></span> -
    <span hx:delete="@{/products/{id}(id=${product.id})}"
          hx-trigger="click"
          class="text-red-500 hover:underline hover:cursor-pointer">
        Delete
    </span>
</li>
Note the hx:delete and hx-trigger tags.
The corresponding controller method looks like this:
  @HxRequest (1)
  @DeleteMapping("/{id}")
  public String delete(@PathVariable("id") UUID id, RedirectAttributes redirectAttributes) { (2)
    productRepository.deleteById(id);

    redirectAttributes.addFlashAttribute("message", "Product deleted"); (3)
    return "redirect:htmx:/products"; (4)
}| 1 | Indicate that this controller method should only match if the request was done by htmx. |
| 2 | Inject RedirectAttributes. |
| 3 | Add the flash attribute. |
| 4 | Use the redirect:htmx: prefix to force htmx to do a client-side redirect to /products. |
An alternative implementation is using the HtmxRedirectView as return type instead of String:
  @HxRequest
  @DeleteMapping("/{id}")
  public HtmxRedirectView delete(@PathVariable("id") UUID id, RedirectAttributes redirectAttributes) {
    productRepository.deleteById(id);

    redirectAttributes.addFlashAttribute("message", "Product deleted");
    return new HtmxRedirectView("/products"); (1)
}| 1 | Use HtmxRedirectView to force htmx to do a redirect to /products. |
Both the String variant and the HtmxRedirectView are equivalent, you can use whatever variant you prefer.
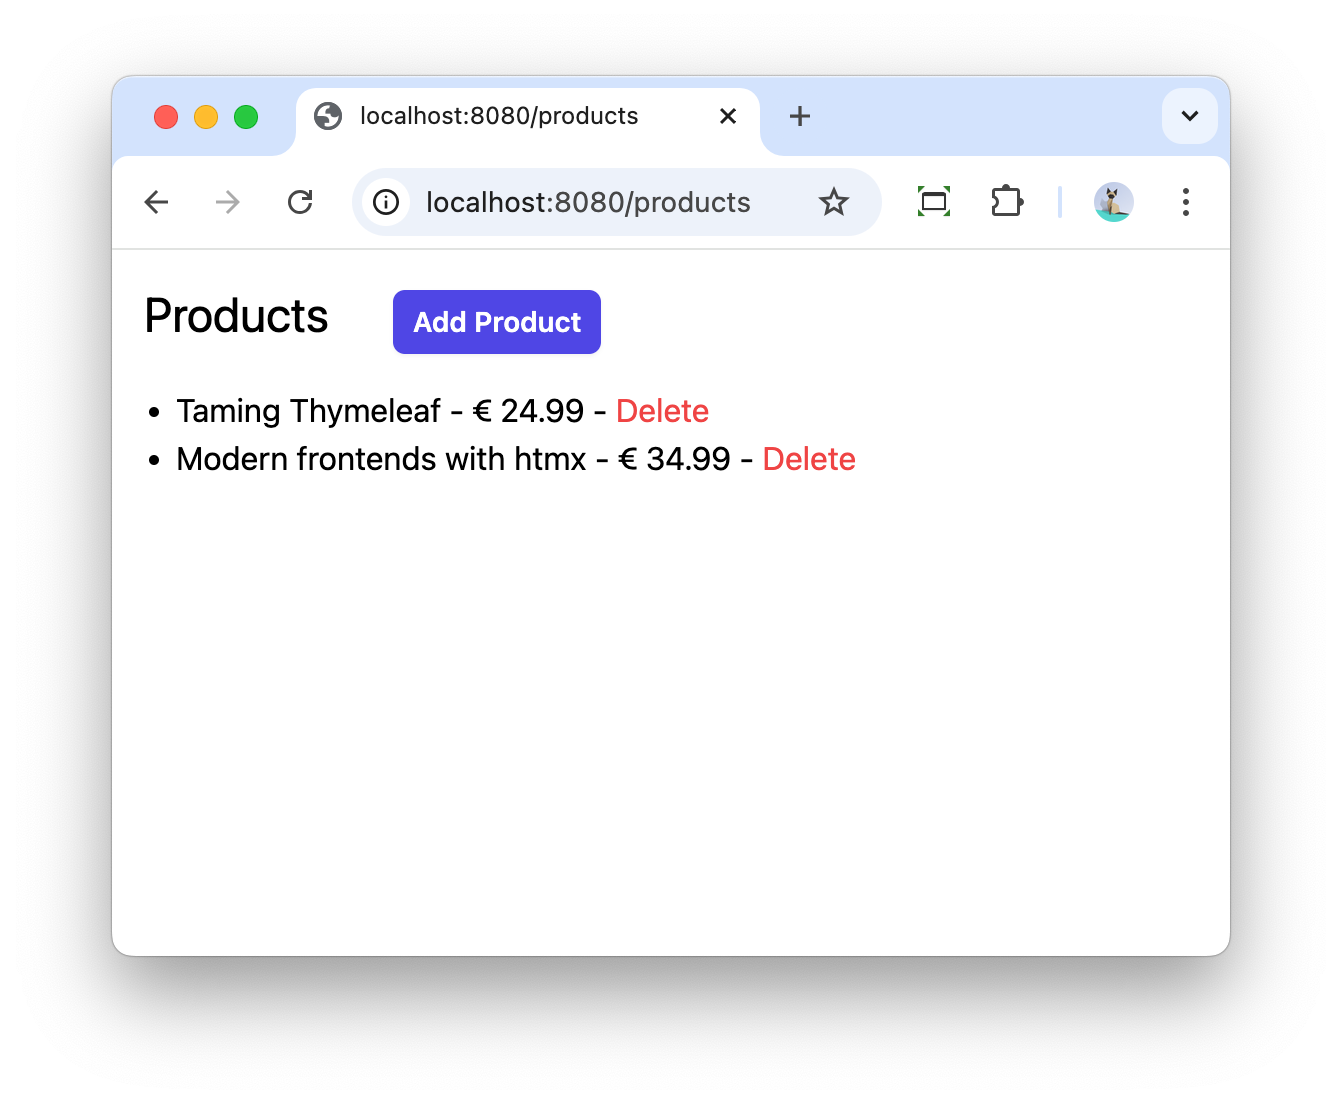
Screenshot of the application showing the 'Delete' link:

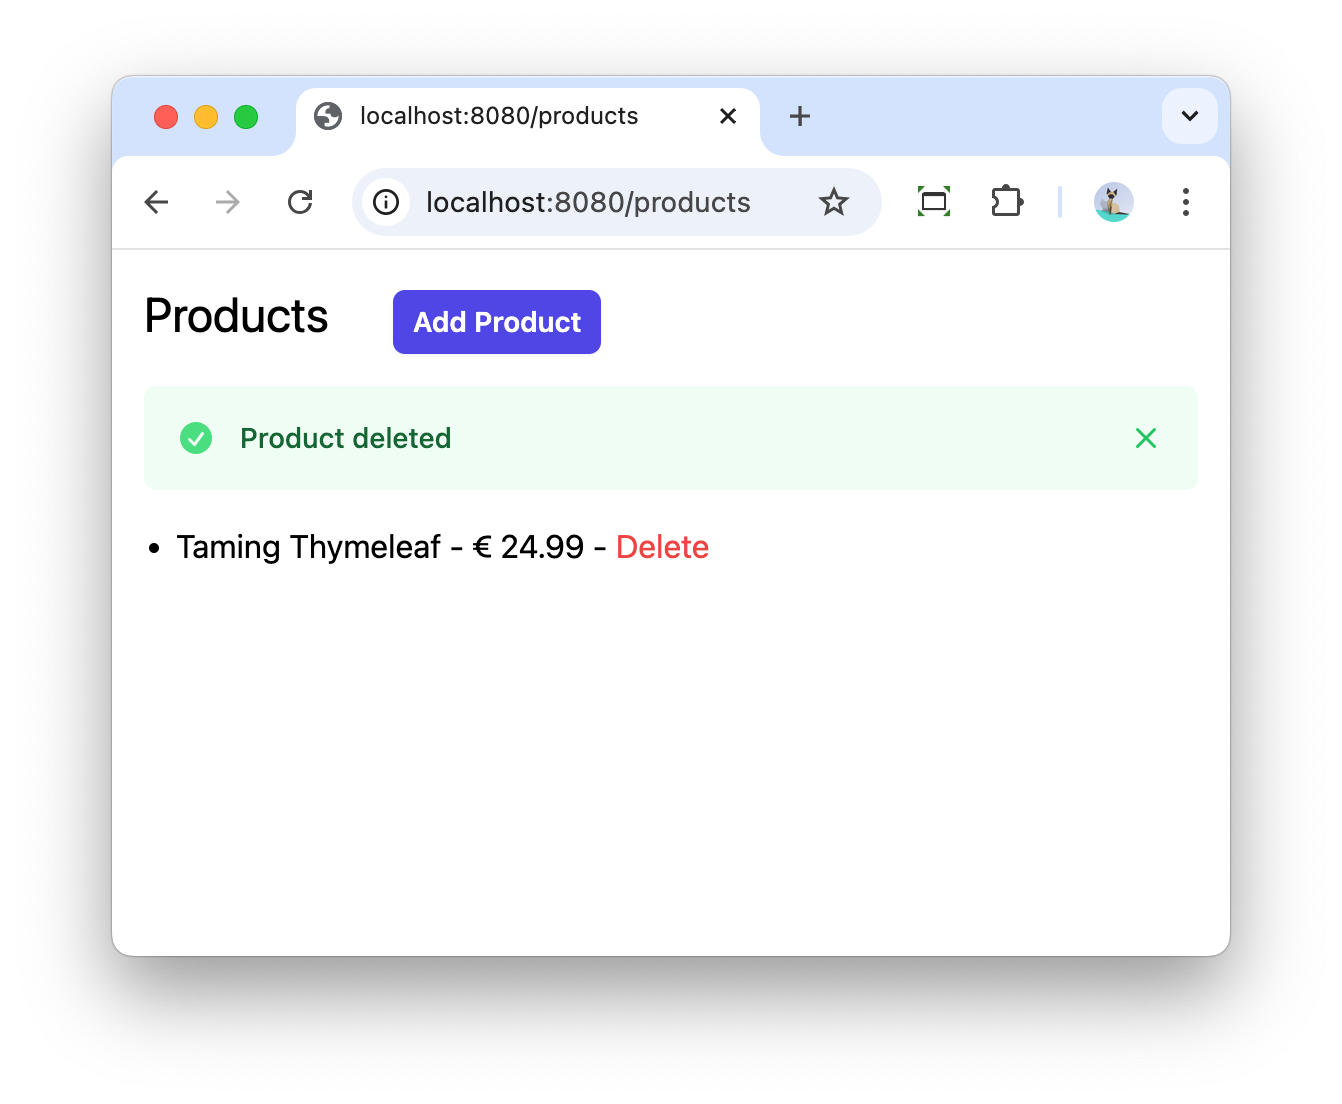
Showing the message after clicking the 'Delete' link:

|
The htmx redirect support is only possible if you add the htmx-spring-boot library with at least version 3.6.1 to your project. |
Conclusion
Redirect attributes provide a clean way to pass temporary messages across redirects in Spring MVC applications. The htmx-spring-boot library makes this integration seamless by providing dedicated support for htmx redirects through either string-based redirects or the HtmxRedirectView class. This approach gives developers flexibility in implementing user feedback while maintaining a smooth user experience.
See redirect-attributes on GitHub for the full sources of this example.
If you have any questions or remarks, feel free to post a comment at GitHub discussions.

